Ditch the canned stuff—this 20-minute filling tastes like fall in every bite.
There’s something about a spoonful of warm, cinnamon-laced apples that just hits different. Whether it’s piled into a flaky pie crust, spooned over vanilla ice cream, or eaten straight from the pan (no judgment), homemade apple pie filling is one of those recipes that makes everything it touches better.
This homemade apple pie filling comes together in about 20 minutes with just seven ingredients, and it blows anything from a can out of the water. The apples stay tender but not mushy, the sauce is glossy and perfectly spiced, and the whole thing tastes like the best part of Thanksgiving. Once you make it from scratch, going back to store-bought feels like a downgrade. (Which is a shame, really.)
What Makes Homemade Apple Pie Filling So Good?
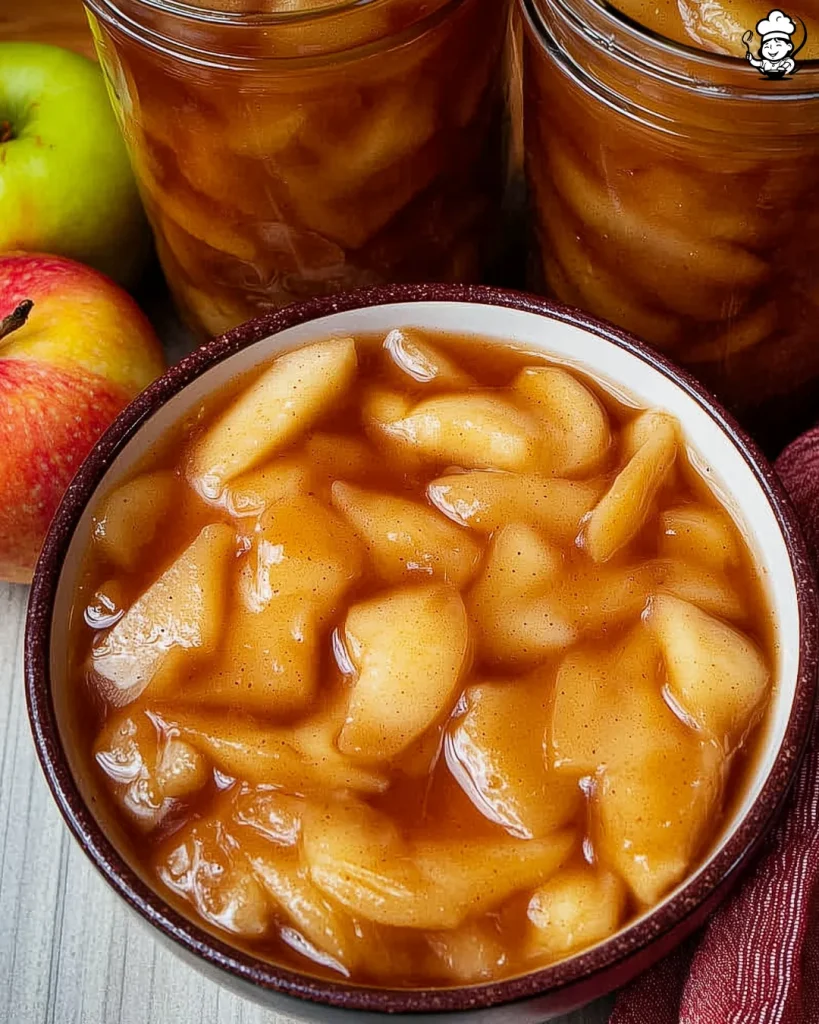
The biggest difference between homemade and canned apple pie filling is texture. Store-bought versions tend to be overly sweet, gummy, and packed with apples that have lost all their character. This version keeps things balanced. The apples hold their shape with just the right amount of give, and the filling itself is thick and glossy without feeling like gelatin.
Then there’s the flavor. A combination of cinnamon and nutmeg gives the filling that classic autumn warmth, while a hit of lemon juice brightens everything up and keeps the sweetness from going one-dimensional. Here’s the thing—that little bit of acid does more than add flavor. It also helps the apples hold their structure during cooking so they don’t turn to mush.
The cornstarch-thickened sauce is what really pulls it all together. As it cools, it sets up into that silky, spoonable consistency that’s perfect for pies, tarts, crisps, or just about anything else. And because the filling is cooked on the stovetop before it goes into whatever you’re baking, you get total control over the texture. No more slicing into a pie only to find a watery mess inside.
What Ingredients Do You Need for Homemade Apple Pie Filling?
Everything here is simple and probably already in your kitchen:
- 6 cups sliced apples — Granny Smith holds up best for baking, but a mix of Granny Smith and Honeycrisp gives a nice balance of tart and sweet
- ¾ cup sugar
- 2½ tbsp cornstarch — this is what thickens the filling into that glossy, pie-ready consistency
- 1 tsp cinnamon
- ¼ tsp nutmeg — just a touch; it adds warmth without taking over
- 1 tbsp lemon juice
- ½ cup water
That’s it!
How Do You Make Homemade Apple Pie Filling?
Start by slicing your apples and tossing them with the lemon juice. This keeps them from browning while you get everything else ready, and it adds that subtle brightness to the finished filling.
In a separate bowl, whisk together the sugar, cornstarch, cinnamon, and nutmeg. Mixing the dry ingredients first prevents the cornstarch from clumping when it hits the liquid — a small step that makes a real difference.
Add the apples, the dry mixture, and the water to a medium saucepan. Stir everything together and bring it to a gentle boil over medium heat, stirring frequently. The sauce will start out thin and cloudy, but as the cornstarch activates, it’ll thicken up and turn glossy. That transformation happens fast, so keep stirring and don’t walk away.
Let it cook for 8 to 10 minutes total. The apples should be tender but still hold their shape, and the sauce should coat the back of a spoon. If the filling looks too thick, add a splash of water. If it’s too thin, just give it another minute or two on the heat.
Remove the pan from the heat and let the filling cool completely before using it. This is the hardest part (patience is not always a kitchen virtue), but cooling lets the filling set up properly so it doesn’t make your pie crust soggy.
From here, spoon it into a pie crust, layer it into a crisp, swirl it through oatmeal, or pile it on top of pancakes. It’s one of those recipes that’s almost more versatile than the pie itself. Enjoy!
What Variations Can I Make?
Maple Apple Pie Filling: Swap out half the sugar for pure maple syrup. It gives the filling a deeper, more complex sweetness that pairs beautifully with the cinnamon. Just reduce the water by a couple of tablespoons to account for the extra liquid.
Salted Caramel Apple Filling: Stir in 2 tablespoons of caramel sauce and a pinch of flaky sea salt once the filling is off the heat. Trust me — the sweet-salty combination with warm spiced apples is something special.
Bourbon Apple Pie Filling: Add a tablespoon of bourbon right at the end of cooking. The alcohol cooks off quickly, but it leaves behind a warm, vanilla-forward depth that makes the whole filling taste more sophisticated. Great for fall entertaining.
Mixed Berry-Apple Filling: Fold in a cup of fresh or frozen blueberries or blackberries during the last two minutes of cooking. The berries burst and bleed into the sauce, giving the filling a gorgeous purple hue and a tangy contrast to the sweet apples.
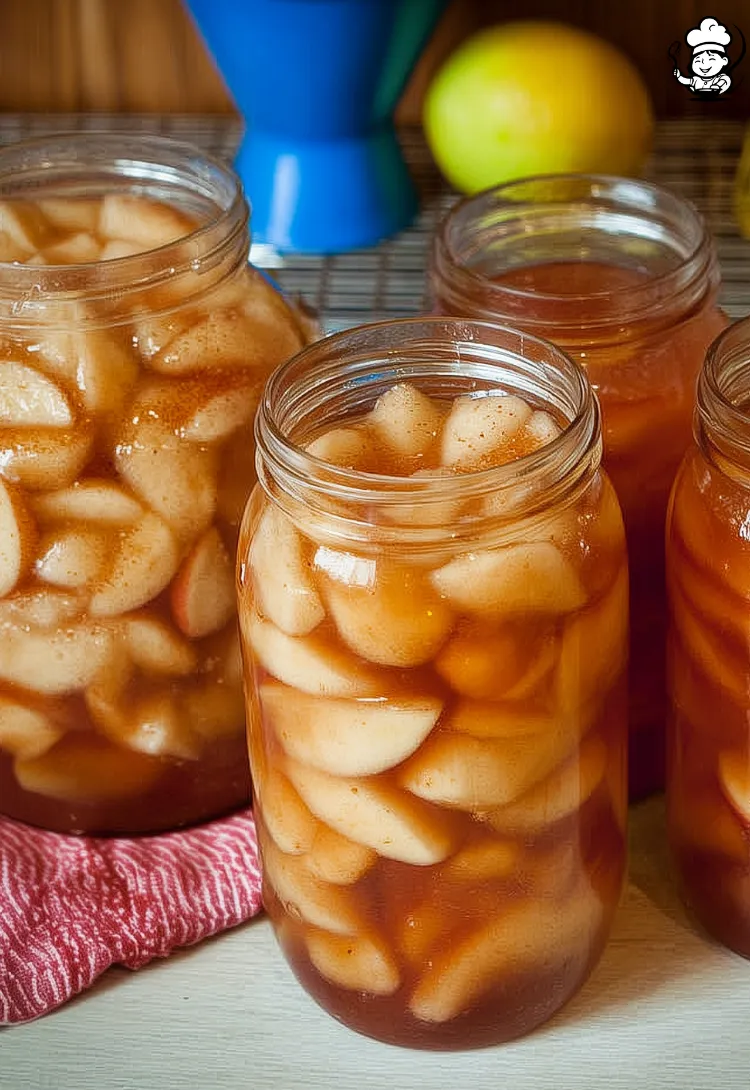
How to Store Homemade Apple Pie Filling
Let the filling cool completely, then transfer it to an airtight container. It keeps in the fridge for up to 5 days, which makes it a great make-ahead option for holiday baking. The filling will thicken further as it chills — just give it a gentle stir before using.
For longer storage, this filling freezes well for up to 3 months. Portion it into freezer bags or containers, press out as much air as possible, and lay them flat for easy stacking. Thaw overnight in the fridge when you’re ready to use it. The texture stays remarkably close to fresh, though the apples may soften just slightly after thawing.
Print
Homemade Apple Pie Filling
- Total Time: 20 minutes
- Yield: 1 pie 1x
Description
Make the ultimate homemade apple pie filling with fresh apples, cinnamon, and cornstarch. Thick, glossy, and perfect for pies, crisps, and turnovers.
Ingredients
- 6 cups sliced apples
- ¾ cup sugar
- 2½ tbsp cornstarch
- 1 tsp cinnamon
- ¼ tsp nutmeg
- 1 tbsp lemon juice
- ½ cup water
Instructions
- Toss apples with lemon juice.
- Mix sugar, cornstarch, and spices.
- Cook apples with mixture and water until thick.
- Cool completely before using.
- Prep Time: 10 minutes
- Cook Time: 10 minutes
- Category: Dessert
- Method: Stovetop
- Cuisine: American
Frequently Asked Questions
What are the best apples for homemade pie filling?
Granny Smith apples are the classic choice because they hold their shape well and have a tartness that balances the sugar. For a more complex flavor, try mixing Granny Smith with Honeycrisp or Braeburn. Avoid Red Delicious or Fuji—they tend to break down too much during cooking and turn mushy.
Can I use this filling for something other than pie?
This filling is incredibly versatile. Use it as a topping for pancakes, waffles, or oatmeal, layer it into a crumble or crisp, fold it into turnovers, or spoon it over vanilla ice cream. It works anywhere you want warm, spiced apples.
Why is my apple pie filling runny?
The most common reason is not cooking the filling long enough for the cornstarch to fully activate. It needs to reach a full boil and cook for the entire 8–10 minutes. Also make sure you measure the cornstarch accurately — too little won’t thicken the sauce properly.
Can I freeze homemade apple pie filling?
Yes, it freezes beautifully for up to 3 months. Cool the filling completely, then store it in airtight freezer bags laid flat. Thaw overnight in the refrigerator before using. The apples may soften slightly but the flavor stays excellent.
Do I need to peel the apples for pie filling?
Peeling is recommended for the best texture. Apple skins can become tough and chewy once cooked, especially in a thick filling like this. A sharp Y-peeler makes quick work of it — all six cups can be prepped in just a few minutes.