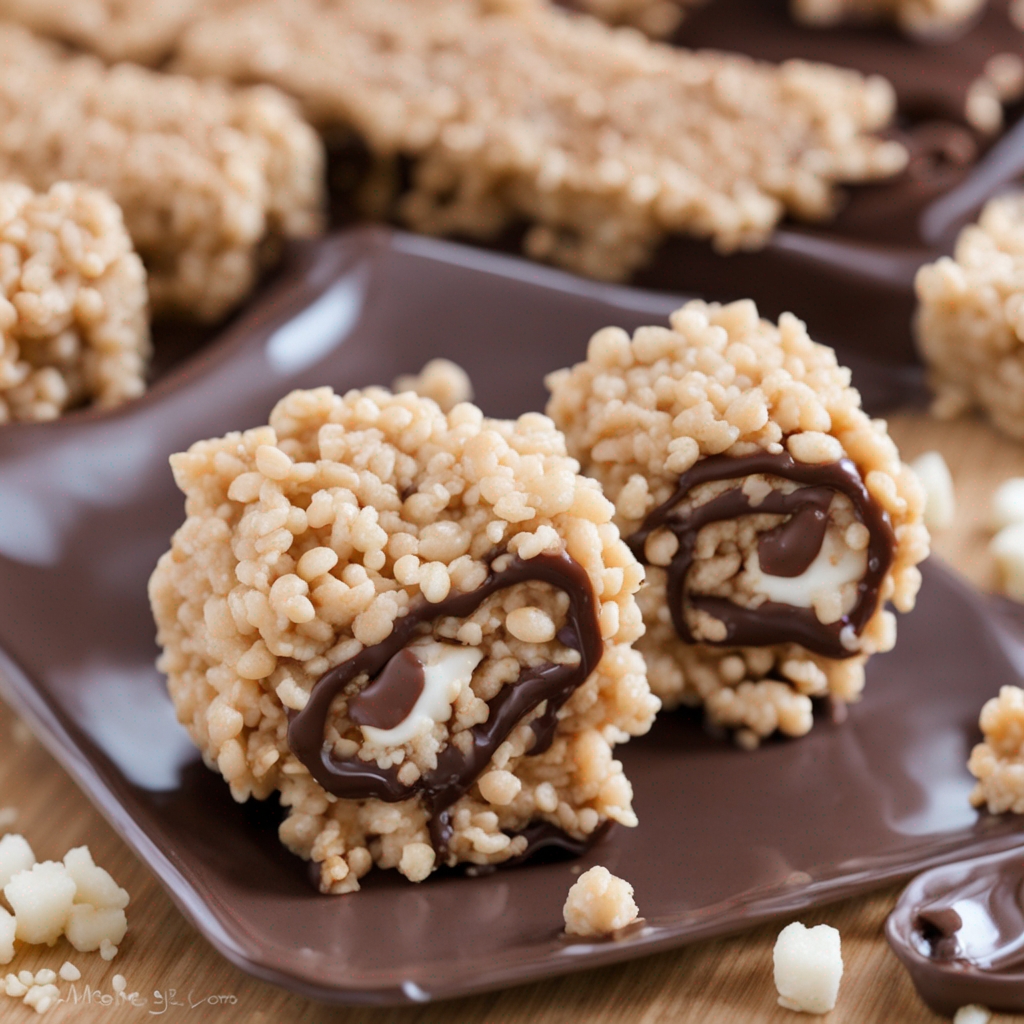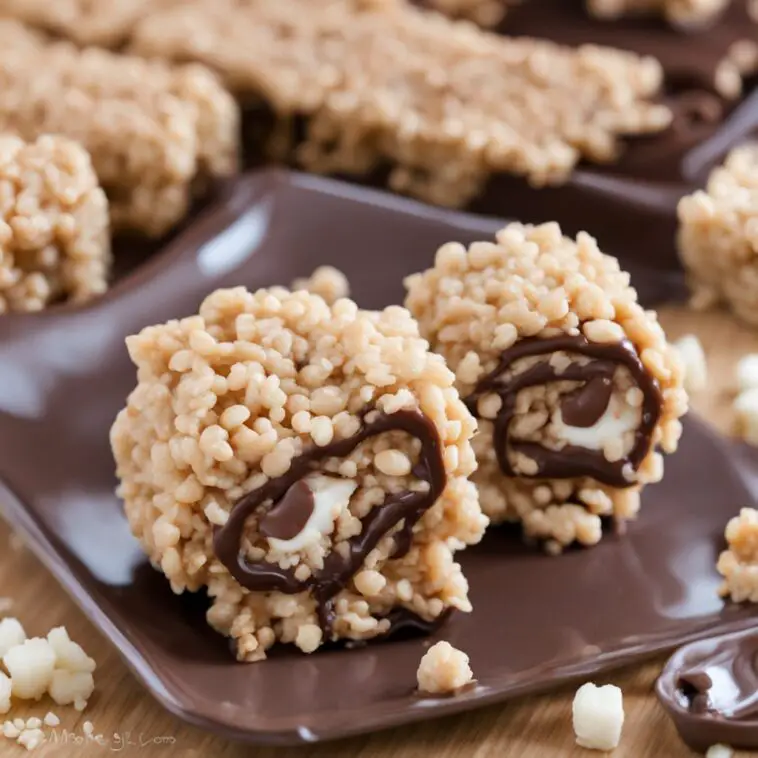
The Secrets Behind Perfect Rice Krispies Roll Ups:
While the recipe provided will undoubtedly get you a delicious result, knowing the little tricks behind the treat can make all the difference!
- Consistent Heat: When melting the marshmallows, maintain a steady low heat. This prevents the marshmallows from burning or getting too sticky.
- Freshness Matters: Use fresh Rice Krispies for that ultimate crunch. Stale cereal can make your roll-ups less appealing.
- Quality Ingredients: Invest in good quality chocolate and peanut butter (if you’re using it). This can elevate the taste incredibly.

Rice Krispies Roll Ups Recipe
Ingredients:
- 4 cups of Rice Krispies cereal
- 10 oz bag of mini marshmallows
- 3 tablespoons of unsalted butter
- 1/2 cup of creamy peanut butter (optional)
- 1 cup of chocolate chips
- Sprinkles, crushed cookies, or other toppings (for extra flair!)
Instructions:
- Prep Your Station: Lay out a large sheet of parchment paper on your counter. This is where you’ll be letting the Rice Krispies set.
- Melt Away: In a large saucepan, melt the butter over low heat. Once it’s melted, add the mini marshmallows, stirring continuously until they’re fully melted. For those who love peanut butter, now’s the time to stir it in!
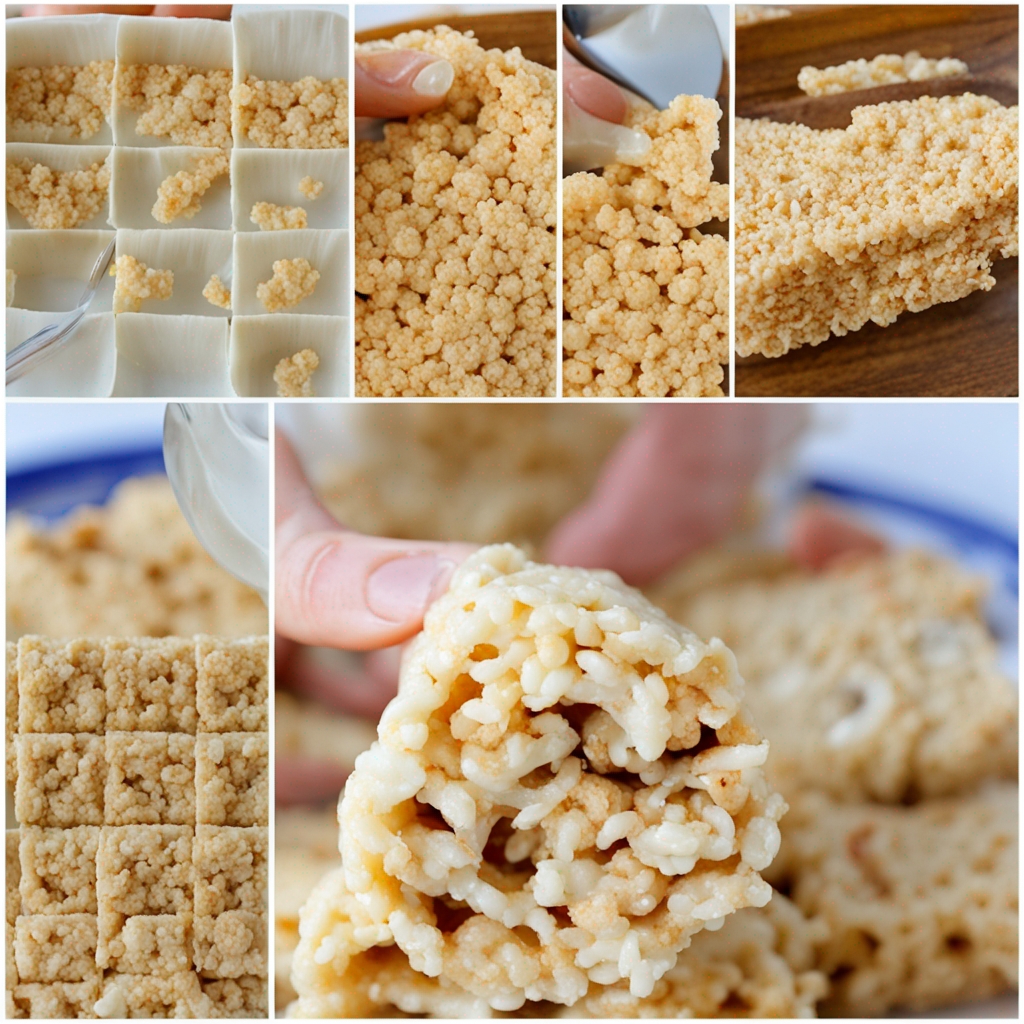
- Add the Crunch: Pour in the Rice Krispies cereal and fold it in gently, ensuring every piece gets a good coat of the marshmallow mixture.
- Set and Flatten: Transfer the mixture to your prepped parchment paper. With another sheet of parchment paper (or using slightly wet hands), press the mixture flat until it’s about 1/2 inch thick.
- Chocolate Time: In a microwave-safe bowl, melt the chocolate chips in 30-second intervals, stirring between each interval, until fully melted. Drizzle or spread the melted chocolate over the flattened Rice Krispies mixture.
- Customize: Here’s the fun part! Add your chosen toppings – whether it’s sprinkles, crushed cookies, or any other delights you fancy.
- Roll It Up: Once you’ve got all your toppings on, start at one end and gently roll the Rice Krispies sheet into a log, peeling the parchment paper away as you go.
- Chill Out: Place your roll in the fridge for about an hour to let it set.
- Slice and Serve: Once set, use a sharp knife to slice your roll into desired sizes. Enjoy the crunchy, gooey delight with every bite!
Pro Tips:
- If you’re vegan or have any allergies, make sure to pick marshmallows and chocolate chips that suit your dietary needs.
- For an extra gooey treat, consider adding a caramel drizzle on top or inside the roll.
- The Rice Krispies Roll Ups are perfect for kids’ parties, picnics, or even as a surprise snack in their lunchbox.
Frequently Asked Questions (FAQs):
- Can I use a different cereal?
- Absolutely! While Rice Krispies give a classic taste, you can experiment with other cereals for different textures and flavors.
- How long do these Roll Ups last?
- Stored in an airtight container, they can last up to a week. However, they’re best enjoyed within the first 3 days.
- Can they be frozen?
- Yes! Wrap them tightly in plastic wrap and store in a freezer bag. They can be frozen for up to a month. Thaw at room temperature before serving.
Serving Suggestions:
- With Ice Cream: Slice a roll-up and serve it with a scoop of your favorite ice cream for a delightful dessert.
- Drizzle: Add some caramel or chocolate syrup for an extra layer of flavor.
- Fruit Pairing: Fresh berries or banana slices can add a refreshing taste and complement the sweetness.
Our Rice Krispies Roll Ups recipe is a must-try for those who love a combination of crunch and sweetness. Whether you’re making them for a special occasion or simply to satisfy a sweet tooth, they’re guaranteed to be a hit.
Remember, the success of any recipe lies not just in the ingredients, but in the love and attention you pour into making it. Enjoy every bite of your Rice Krispies Roll Ups!

