
Hello foodies! Buckle up as we’re about to embark on a culinary adventure today. Our destination? A delectable snack paradise where crispy cheddar cheese meets tangy pickles, all crisped to perfection in the oven. And the ride won’t be complete without a delicious pit stop—our spicy ranch dip.
This easy and quick-to-prepare snack will not only satisfy your cravings but will also add a zesty touch to your gatherings, movie nights, or even an ordinary day. Before we dive into the step-by-step guide, let’s take a quick look at what we need for this enticing journey.
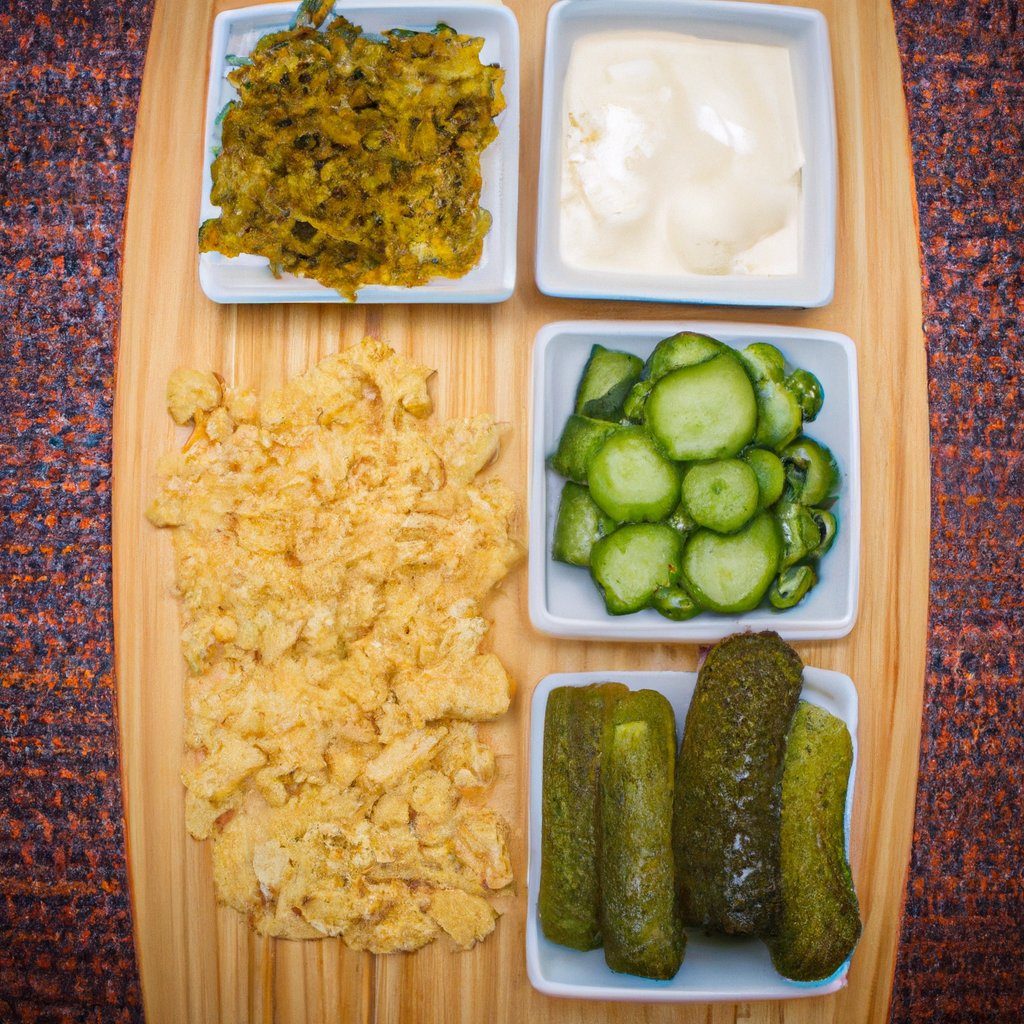
Ingredients:
- 2 cups of shredded cheddar cheese (more if you’re a cheese lover)
- 1 cup of pickles (sliced or whole, as per preference)
- 1 cup of your favorite spicy ranch dressing
- Paper towels for drying pickles and draining the finished product
Now, let’s roll up our sleeves and start cooking!
Step 1: Lay the Foundation with Shredded Cheddar Cheese
First things first. Preheat your oven to a toasty 400 degrees Fahrenheit. While your oven is warming up, take a baking sheet and cover the bottom with a generous layer of shredded cheddar cheese. This will serve as the bedrock of our cheesy pickle delight.
A quick tip here: try to use good quality, sharp cheddar cheese for the best flavor. But remember, the choice of cheese is entirely up to you, and your preferred taste profile will work perfectly well!
Step 2: Prep the Pickles and Place on Top
Now comes the tangy twist – our pickles. It’s important to dry your pickles off with a paper towel before placing them on top of the cheese layer. We want to make sure they’re dry to prevent any unnecessary moisture from making our cheese soggy. The goal is to maintain the crispiness of the final product.
Once your pickles are nice and dry, arrange them over the shredded cheese, creating a nice, even layer. Make sure to spread them out evenly to ensure every bite includes a tangy pickle crunch.
Step 3: Add a Layer of Cheese on Top
The next step is to add another layer of shredded cheese over the pickles. This layer of cheese will melt into a gooey, delicious blanket, encapsulating the pickles and creating a delightful contrast with their crispiness.
Step 4: Bake to Make the Cheese Crispy
With your cheese and pickle masterpiece prepared, it’s time to let the oven work its magic. Bake your dish at 400 degrees Fahrenheit for about 15 minutes. Keep an eye on your creation during this time—you’re looking for the cheese to bubble and turn a delicious golden brown.
Step 5: Absorb Excess Grease and Serve
After baking, take your cheese and pickle delicacy out of the oven and let it cool for a couple of minutes. To get rid of any excess grease, place the baked cheese and pickles on a paper towel. This step ensures that your snack will be crispy, not oily.
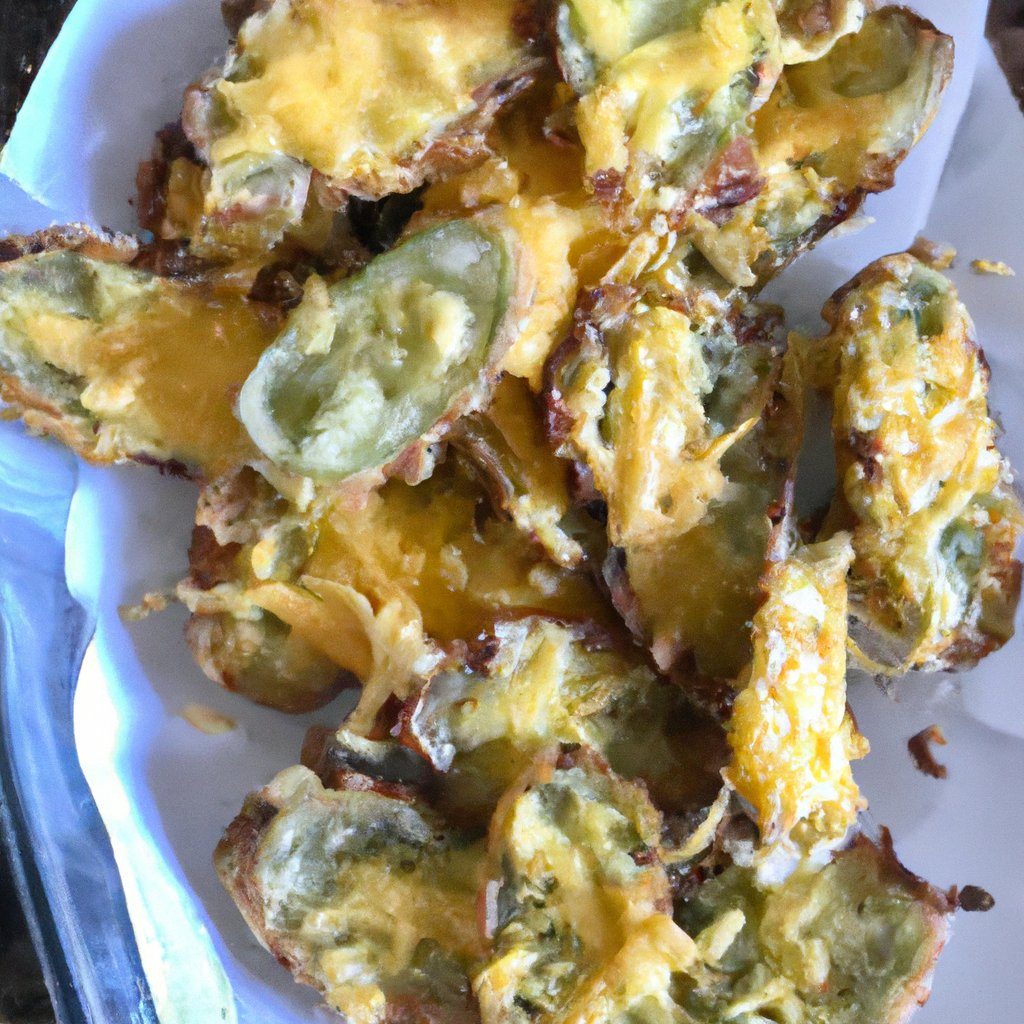
Finally, your cheesy, pickle-laden creation is ready to be served! We like to serve ours with a spicy ranch dressing on the side. The creaminess of the ranch and the heat from the spice beautifully complement the sharpness of the cheddar and the tanginess of the pickles.
So there you have it, folks! An easy, quick, and undeniably delicious snack that’s sure to be a hit at parties, during movie nights, or even as a treat to spice up a regular day.
Remember, this recipe is flexible. Feel free to experiment with different types of cheese, pickles, and dips to suit your preferences.