Perfect Instant Pot Brown Rice: Easy, Fluffy, and Delicious Every Time!
Are you tired of ending up with mushy or undercooked brown rice? Say goodbye to guesswork and hello to perfectly cooked brown rice with this Instant Pot Brown Rice recipe! In this blog post, we’ll guide you through the process of making fluffy and flavorful brown rice using your Instant Pot. With just a few simple ingredients and minimal effort, you’ll have a delicious and nutritious side dish that pairs well with a variety of meals. Plus, we’ll answer some frequently asked questions, provide helpful tips, and even offer keto and low-carb variations. Let’s get started!
Frequently Asked Questions (FAQs)
Q: Can I use any type of brown rice for this recipe? A: Yes, you can use any variety of long grain brown rice, including jasmine, basmati, or regular long grain.
Q: Do I need to rinse the rice before cooking it in the Instant Pot? A: Rinsing the rice is optional but recommended, as it helps remove excess starch and prevents the rice from becoming too sticky.
Q: Can I double or halve the recipe? A: Yes, you can easily double or halve the ingredients to adjust the serving size. Just be sure to adjust the cooking time accordingly.
Ingredients:
- 1 cup long grain brown rice*
- 1 1/2 cups water
- 1/4 teaspoon salt (optional)
*Note: This recipe yields approximately 3 cups of cooked rice.
Instructions:
Step 1: Rinse the Rice
- Place the brown rice in a fine-mesh strainer and rinse it under cold water until the water runs clear. This helps remove excess starch and prevents the rice from becoming too sticky.
Step 2: Combine Rice and Water
- In the inner pot of your Instant Pot, add the rinsed brown rice, water, and salt (if using). Stir gently to combine.
Step 3: Pressure Cook
- Close the lid of the Instant Pot and set the valve to the sealing position.
- Select the “Manual” or “Pressure Cook” setting and set the cooking time to 22 minutes on high pressure.
Step 4: Natural Release
- Once the cooking time is complete, allow the pressure to release naturally for 10 minutes. This helps ensure that the rice is fully cooked and prevents it from becoming too mushy.
Step 5: Fluff and Serve
- After 10 minutes of natural release, carefully switch the valve to the venting position to release any remaining pressure.
- Open the lid of the Instant Pot and use a fork to fluff the rice. Serve immediately as a side dish or as a base for your favorite recipes.
Cook Notes and Variations:
- Add Flavor: For added flavor, you can cook the rice in chicken or vegetable broth instead of water.
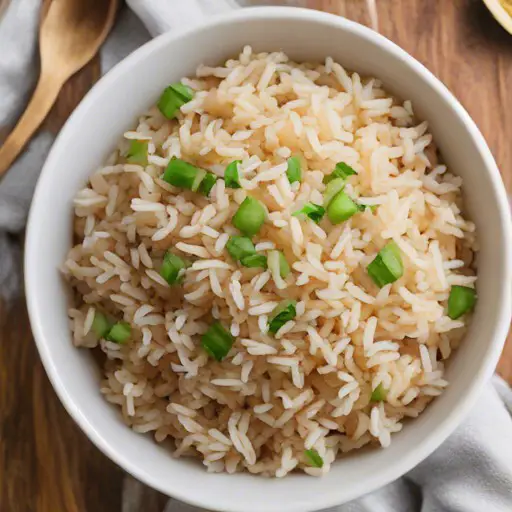
- Herbaceous Twist: Stir in some chopped fresh herbs like parsley, cilantro, or chives before serving for added freshness and flavor.
- Customize Seasonings: Feel free to customize the seasonings to suit your taste. You can add spices like garlic powder, onion powder, or smoked paprika for extra flavor.
Keto Versions and Low-Carb Options:
- Cauliflower Rice: For a keto-friendly option, substitute cauliflower rice for brown rice. Simply follow the same instructions but reduce the cooking time to 1 minute on high pressure.
With this easy Instant Pot Brown Rice recipe, you’ll never have to worry about soggy or undercooked rice again. Whether you’re serving it as a side dish or using it as a base for your favorite recipes, this fluffy and flavorful brown rice is sure to impress. Plus, with minimal effort and just a few simple ingredients, it’s a convenient and nutritious option for any meal. Give it a try and elevate your rice game with the magic of the Instant Pot! Enjoy your perfectly cooked brown rice with confidence and satisfaction.