Chocolate has a magical quality that brings joy to both the young and the old. There’s something incredibly special about crafting your own chocolate from scratch, turning simple ingredients into exquisite treats that melt in your mouth. Today, I’ll guide you through an easy method to make homemade chocolate using just milk and a few other ingredients. This foolproof recipe will ensure you end up with delicious, sweet chocolate that can be enjoyed alone or gifted to your loved ones.
Overview:
- Prep Time: 10 minutes
- Cook Time: 50 minutes
- Total Time: 1 hour
- Servings: 20 pieces

Ingredients:
- Milk: 600ml (to make condensed milk)
- Sugar: 160-170g (depending on your sweetness preference)
- Butter: 15g
- Vanilla essence: 5-6 drops (optional, but recommended)
- Cocoa powder: 130g (divided use)
Equipment:
- Heavy-bottomed pan
- Wooden spoon
- Sieve
- Mixing bowl
- Cling wrap
- Baking tray
Instructions:
Step 1: Making Condensed Milk
- Prepare the Milk: Pour 600ml of milk into a heavy-bottomed pan. Turn on the heat to medium.
- Add Sugar: Incorporate 160-170g of sugar into the milk, adjusting the quantity based on how sweet you want your chocolate. Stir continuously until the sugar dissolves completely.
- Heat Adjustment: Keep the heat on medium-low and let the mixture gradually come to a boil. Frequent stirring is crucial to prevent the milk from sticking to the bottom of the pan.
- Watch the Boil: Once the edges start to boil, reduce the heat to low to avoid overflowing. Continue to stir and cook until the milk mixture thickens and turns a pale yellow color.
- Finish Condensed Milk: Turn off the heat once you achieve a thick consistency. Congratulations, you’ve just made homemade condensed milk!
Step 2: Mixing Cocoa Powder
- First Addition of Cocoa: Lay a sieve over your mixing bowl and sift 100g of cocoa powder into the condensed milk. This ensures your chocolate is smooth and clump-free.
- Mix Well: Stir the mixture vigorously until the cocoa is fully incorporated and begins to darken and thicken.
- Second Addition of Cocoa: Add the remaining 30g of cocoa powder. Mixing might be tough due to the dryness, but persist until it’s well combined.
Step 3: Setting the Chocolate
- Prepare for Freezing: Transfer the chocolate mixture onto a cling wrap-lined baking tray. Tap gently to flatten and even out the surface.
- Freeze: Cover with another piece of cling wrap and freeze for about 40 minutes, or until the chocolate is firm.
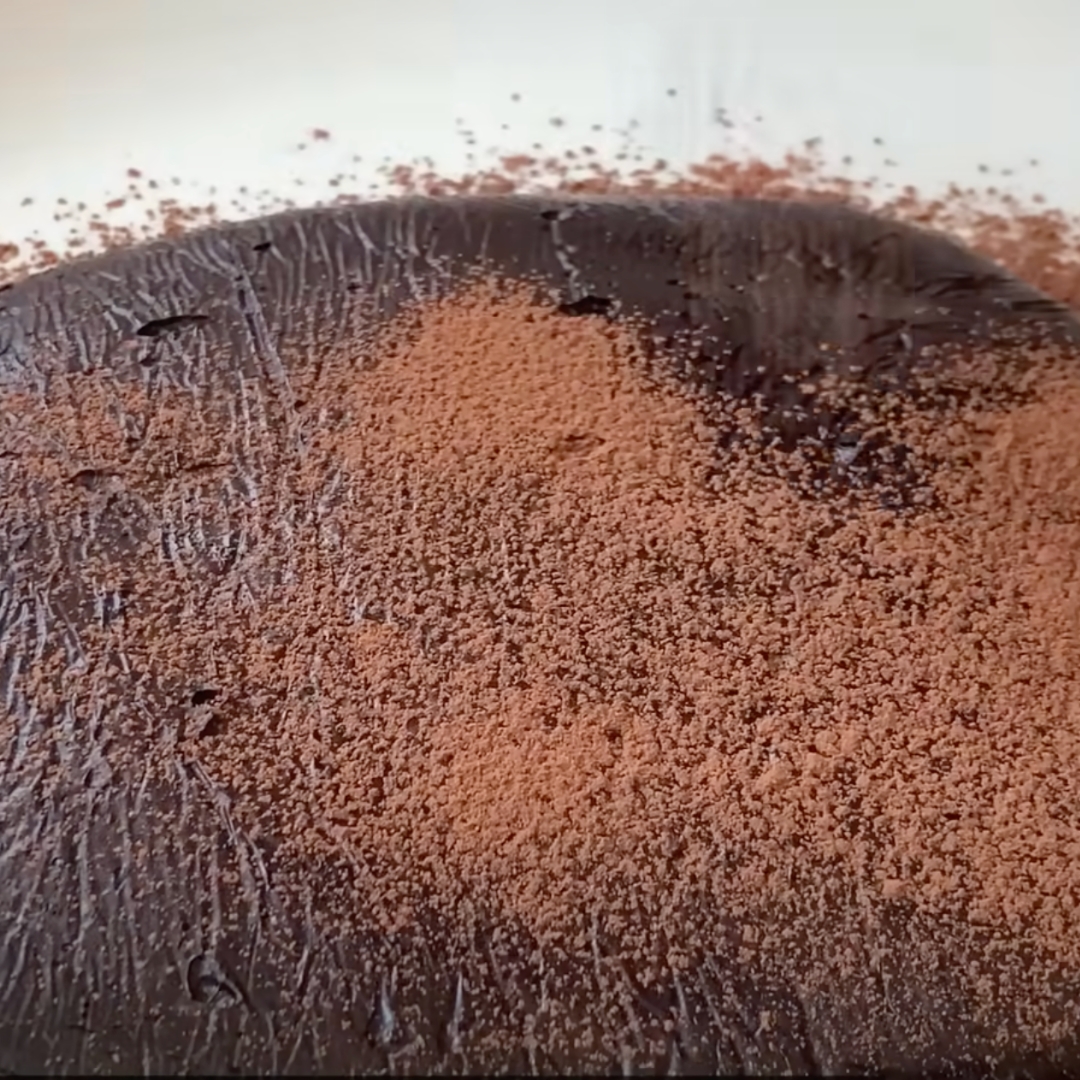
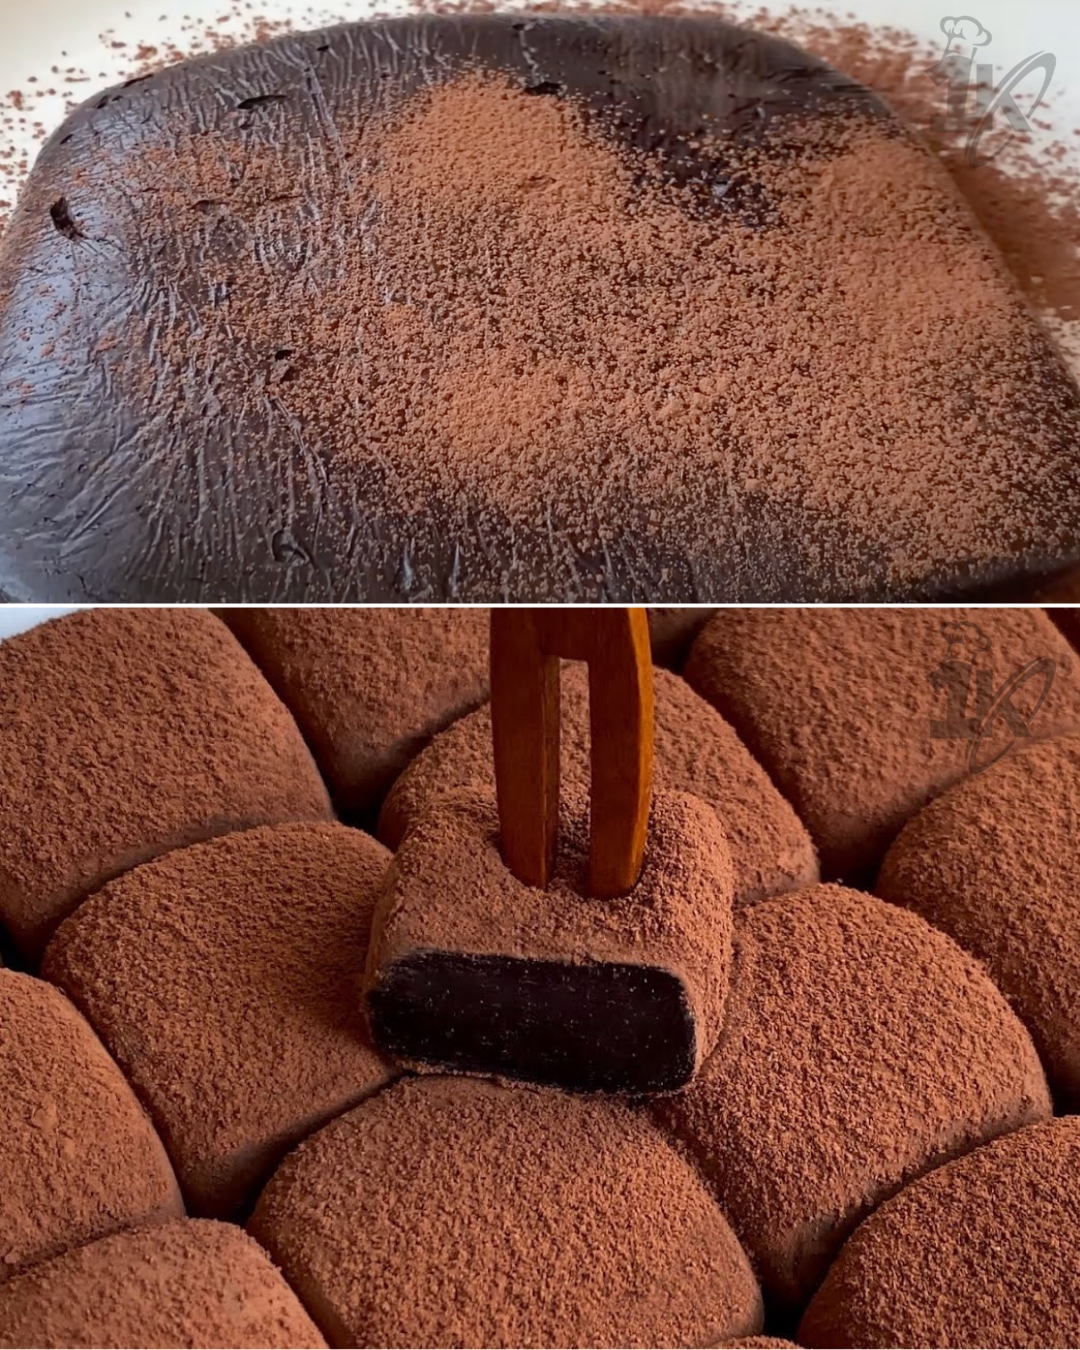
- Cocoa Dusting: Before cutting, dust the chocolate with a thin layer of cocoa powder for an extra touch of chocolatey goodness.
Step 4: Serving
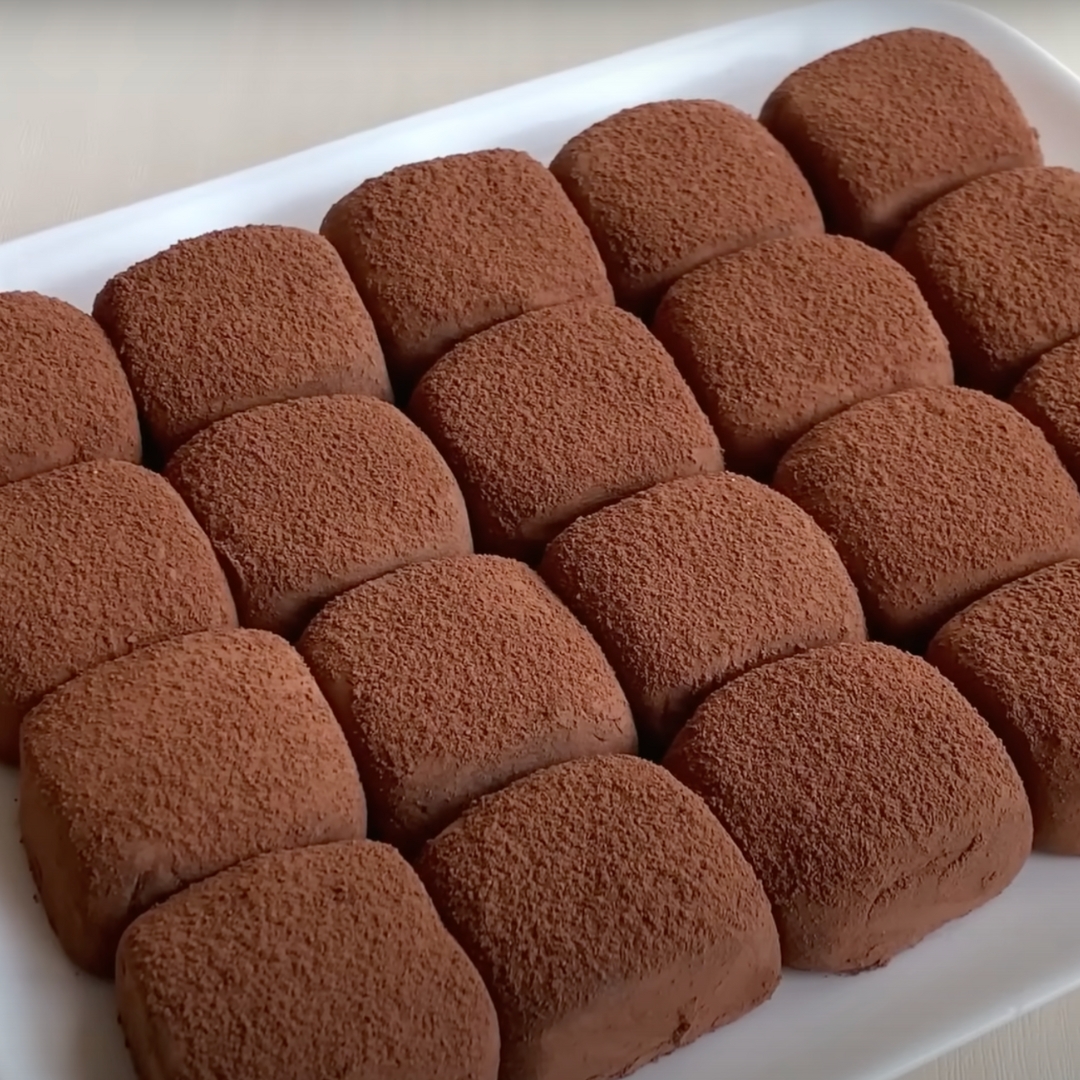
- Cut into Pieces: Remove the chocolate from the freezer and cut into bite-sized pieces. This is where you can get creative with shapes!
- Presentation: Arrange your chocolates neatly. They’re not only delicious but also visually appealing, perfect for gifting or enjoying during a family gathering.

Tips for Perfect Homemade Chocolate:
- Quality Ingredients: Use high-quality cocoa powder for the best flavor.
- Consistency: Ensure the condensed milk is well-reduced to avoid a runny chocolate.
- Creative Flavors: Experiment by adding nuts, dried fruits, or a pinch of sea salt to the mixture before freezing for a gourmet twist.
Frequently Asked Questions (FAQs)
Q1: Can I use any type of milk for this recipe? A1: Yes, you can use full-fat, skim, or any plant-based milk, but the creaminess may vary.
Q2: How long can I store homemade chocolate? A2: Store in an airtight container in the fridge for up to 2 weeks.
Q3: Can I add nuts or fruits to the recipe? A3: Absolutely! Feel free to stir in chopped nuts, dried fruits, or even marshmallows before freezing for added texture and flavor.
Conclusion:
Making your own chocolate at home is a rewarding experience that enhances any occasion. Whether you’re crafting these sweet delights for a festive gift or simply indulging in a treat, the simplicity and elegance of homemade chocolate are sure to impress.
📌 Love this recipe? Pin it! Click the ‘Pin it’ button below to save this simple, delicious homemade chocolate recipe to your favorite dessert or DIY gift Pinterest board!
Print
Homemade Chocolate with Milk
- Total Time: 1 hour
- Yield: 20 pieces
Description
Discover the joy of making your own chocolate with this simple 4-ingredient recipe! Learn how to craft delicious homemade chocolate with our easy-to-follow steps, perfect for gifts or a sweet treat at home.
Ingredients
-
- Milk: 600ml (to make condensed milk)
- Sugar: 160-170g (depending on your sweetness preference)
- Butter: 15g
- Vanilla essence: 5-6 drops (optional, but recommended)
- Cocoa powder: 130g (divided use)
Instructions
Step 1: Making Condensed Milk
-
- Prepare the Milk: Pour 600ml of milk into a heavy-bottomed pan. Turn on the heat to medium.
-
- Add Sugar: Incorporate 160-170g of sugar into the milk, adjusting the quantity based on how sweet you want your chocolate. Stir continuously until the sugar dissolves completely.
- Heat Adjustment: Keep the heat on medium-low and let the mixture gradually come to a boil. Frequent stirring is crucial to prevent the milk from sticking to the bottom of the pan.
- Watch the Boil: Once the edges start to boil, reduce the heat to low to avoid overflowing. Continue to stir and cook until the milk mixture thickens and turns a pale yellow color.
- Finish Condensed Milk: Turn off the heat once you achieve a thick consistency. Congratulations, you’ve just made homemade condensed milk!
Step 2: Mixing Cocoa Powder
-
- First Addition of Cocoa: Lay a sieve over your mixing bowl and sift 100g of cocoa powder into the condensed milk. This ensures your chocolate is smooth and clump-free.
- Mix Well: Stir the mixture vigorously until the cocoa is fully incorporated and begins to darken and thicken.
- Second Addition of Cocoa: Add the remaining 30g of cocoa powder. Mixing might be tough due to the dryness, but persist until it’s well combined.
Step 3: Setting the Chocolate
-
- Prepare for Freezing: Transfer the chocolate mixture onto a cling wrap-lined baking tray. Tap gently to flatten and even out the surface.
- Freeze: Cover with another piece of cling wrap and freeze for about 40 minutes, or until the chocolate is firm.
- Cocoa Dusting: Before cutting, dust the chocolate with a thin layer of cocoa powder for an extra touch of chocolatey goodness.
Step 4: Serving
- Cut into Pieces: Remove the chocolate from the freezer and cut into bite-sized pieces. This is where you can get creative with shapes!
- Presentation: Arrange your chocolates neatly. They’re not only delicious but also visually appealing, perfect for gifting or enjoying during a family gathering.
- Prep Time: 10 minutes
- Cook Time: 50 minutes

