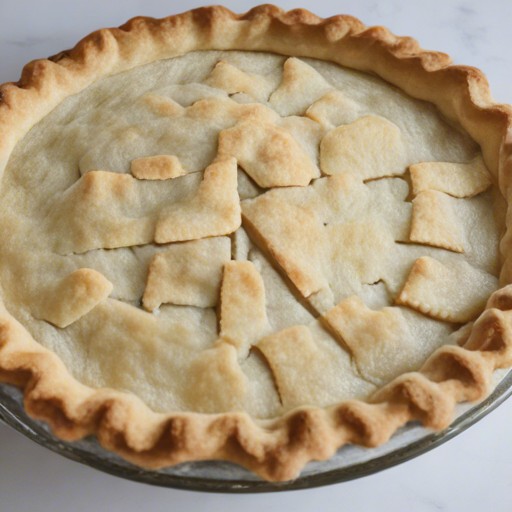
Mastering the Art of Pastry – Butter Flaky Pie Crust Unveiled
Embark on a journey into the heart of baking perfection with our Butter Flaky Pie Crust recipe. A well-crafted pie begins with its foundation, and this flaky, buttery crust is a game-changer for your culinary endeavors. Whether you’re a seasoned baker or a novice in the kitchen, creating the perfect pie crust is an essential skill that elevates your desserts to a new level. Join us as we delve into the art of crafting a buttery masterpiece that will become the canvas for your sweet and savory creations.
Ingredients:
Baking & Spices:
- 1 1/4 cups All-purpose flour
- 1/4 tsp Salt
Dairy:
- 1/2 cup Butter
Liquids:
- 1/4 cup Water
Instructions:
Step 1: Prepare the Ingredients
- Chill Ingredients:
- Ensure that both the butter and water are well-chilled before starting. Cold ingredients are crucial for achieving a flaky texture.
Step 2: Combine and Form the Dough
- Mix Dry Ingredients:
- In a large bowl, whisk together the all-purpose flour and salt.
- Incorporate Butter:
- Cut the cold butter into small cubes and add it to the flour mixture. Use a pastry cutter or your fingertips to incorporate the butter until the mixture resembles coarse crumbs.
- Add Cold Water:
- Sprinkle cold water over the flour-butter mixture, one tablespoon at a time. Gently mix the dough with a fork or your hands until it starts to come together.
- Form a Disc:
- Turn the dough out onto a floured surface and gather it into a ball. Flatten the ball into a disc, wrap it in plastic wrap, and refrigerate for at least 30 minutes.
Step 3: Roll and Shape the Crust
- Preheat Oven:
- Preheat your oven to the temperature specified in your pie recipe.
- Roll Out the Dough:
- On a floured surface, roll out the chilled dough into a circle slightly larger than your pie dish.
- Transfer to Pie Dish:
- Gently transfer the rolled-out dough to your pie dish. Press it into the bottom and sides, trimming any excess overhang.
Step 4: Blind Bake or Add Filling
- Blind Bake (Pre-baking):
- If your pie recipe requires a pre-baked crust, blind bake it by placing parchment paper over the crust and filling it with pie weights or dried beans. Bake for 15 minutes, then remove the weights and bake for an additional 5 minutes until lightly golden.
- Add Filling:
- If your recipe calls for a filled pie, skip the blind baking and proceed to add your desired filling.
Step 5: Bake and Enjoy
- Follow Pie Recipe:
- Continue following the specific instructions for your pie recipe regarding baking times and temperatures.
- Cool and Serve:
- Allow your pie to cool completely before slicing and serving. Enjoy the buttery flakiness!
Cook Notes and Variations:
- Sweet or Savory: This versatile crust works well with both sweet and savory pies. Adjust sugar levels for sweet pies or add herbs for savory creations.
- Nutty Twist: Incorporate finely chopped nuts like pecans or almonds into the crust for added flavor and texture.
- Citrus Zest: For a burst of freshness, add a teaspoon of citrus zest (lemon or orange) to the dough.
Keto and Low-Carb Versions:
For the Keto Enthusiasts:
- Substitute almond flour for all-purpose flour.
- Use cold, cubed butter and a touch of xanthan gum for binding.
Low-Carb Adjustment:
- Replace all-purpose flour with a low-carb flour alternative.
- Consider using a blend of almond flour and coconut flour for a low-carb option.
Frequently Asked Questions (FAQs):
Q49: Can I use salted butter instead of unsalted butter?
- Yes, but adjust the additional salt in the recipe accordingly. Using unsalted butter allows for better control of salt levels.
Q50: Can I make the pie crust ahead of time?
- Absolutely! The dough can be refrigerated for up to 2 days or frozen for later use. Thaw in the refrigerator before rolling.
Q51: How do I prevent a soggy bottom crust?
- For filled pies, consider brushing the crust with a thin layer of beaten egg white before adding the filling. This creates a barrier that helps prevent sogginess.
Q52: Can I freeze the baked pie crust?
- Yes, you can freeze a pre-baked crust. Ensure it’s well-wrapped to prevent freezer burn.
In conclusion, the Butter Flaky Pie Crust is more than a recipe; it’s a foundational skill that opens the door to endless possibilities in the world of baking. As you master the art of creating this flaky masterpiece, you’re not just making a crust; you’re crafting the beginning of a delicious story. Whether you fill it with luscious fruits, velvety custard, or savory delights, this crust is your ticket to pie perfection. Let your creativity soar as you experiment with variations and embrace the joy of homemade pastry. Your kitchen is now a haven of buttery goodness, and every slice is a testament to your culinary prowess. Here’s to the art of baking, and may your pies always be a source of delight and admiration!